Learning Target: I can represent color, value, and texture in my drawing.
Learning Evidence and Assessment: Check for student use of color, value, and texture. Student reflections.
Academic Language: color: the hue or color’s name
value: how light or dark a color is
gradient: fade from light to dark
texture: visual representation of what an object feels like
Lesson Opening: Give students a paint strip (or a section from one) and ask them to find something in the room that is the exact shade of the paint strip. When they find something, use that to name the color such as “science book green” or “water bottle blue.” Creating names will give ownership to the idea that not all greens are created equal. Matching paint chips is a common outdoor science activity, but the classroom probably has more variety of colors, especially beyond greens and browns, which makes it a good place to start.
|
Learning Steps: In general, colored pencils or crayons are preferable to markers, which obscure pencil lines of the sketch underneath.
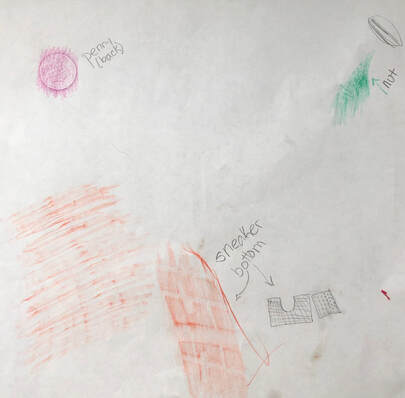
Texture rubbings including a penny, shoe bottom, and a nutshell.
|
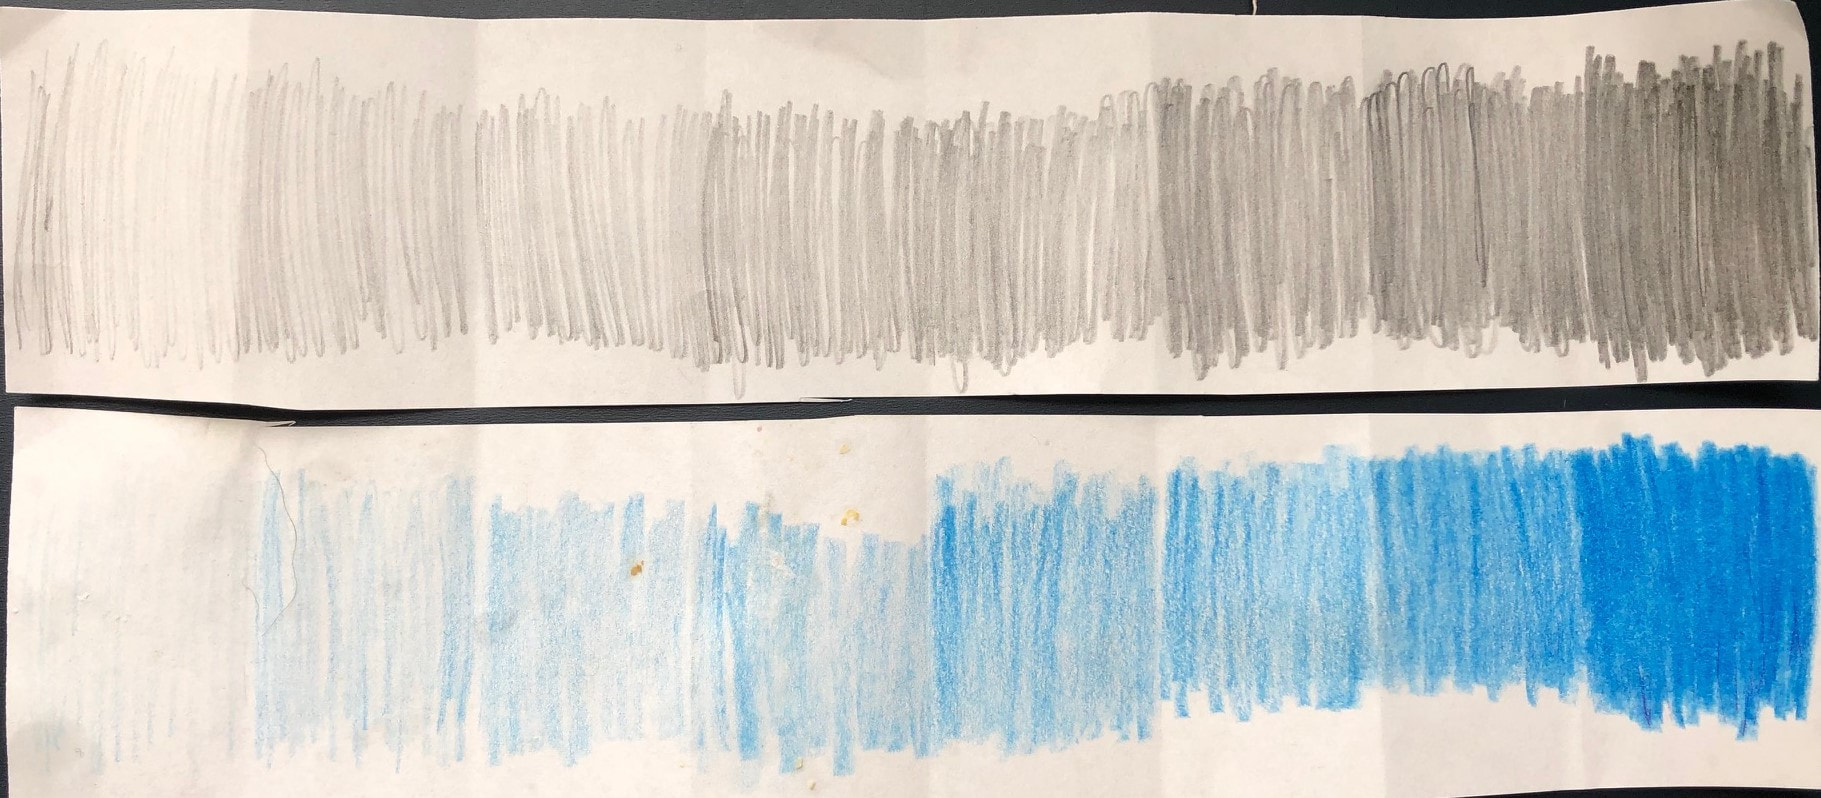
Value strips with a plain pencil and a blue colored pencil.
|
Lesson Conclusion:
Use a reflective exit slip ticket.
Sentence starters:
One texture I really liked was…
One texture I could draw is…
One texture I would like to discover is...
Use a reflective exit slip ticket.
Sentence starters:
One texture I really liked was…
One texture I could draw is…
One texture I would like to discover is...
References:
(none)
Research Connection:
There is much metacognition that goes into planning an accurate drawing (Baxter & Banko, 2018). A student must analyze the object and then go back and forth between the physical object and the 2D rendering to fully portray the object accurately. Judgments include how to color the object; represent size and shape; which parts to include or emphasize; and where to place different elements. Students must think about the scale and orientation of the drawing and include enough detail so that the drawing is recognizable as the object (Dotger & Walsh, 2014).
These lessons address the elements of art (shape, texture, space, color, and value) as well as how to arrange drawings on the page. Baxter & Banko (2018) provide several tips which were incorporated into these lessons, including an emphasis on elements of art such as color, shading, blending, and texture; the suggestion that early drawings should be done as a class; and that students can plan their drawing by tracing their idea with a finger in the air before doing a light pencil drawing. Baxter & Banko (2018) and Camacho et al. (2012) both discuss breaking an object into basic shapes and providing tracing tools for students who want them. Camacho et al. (2012) state that pencil marks should be “loose, light, and layered” and have students work without erasers at first (p. 70). Porter et al. (2011) included some of the lesson pieces including paint strip color matching, value strips, and texture rubbings.
